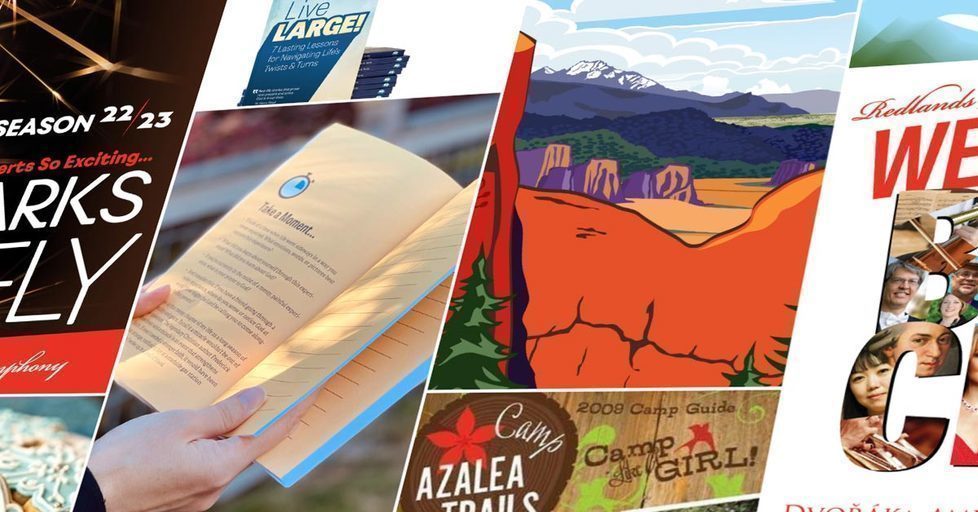
The most powerful blog posts and social media statuses are a rich combination of copywriting and imagery.
Why?
Because a great image grabs your audience’s attention and good copywriting holds onto it.
When it comes to selecting an image, a graphic designer offers some serious advantages over the DIY route. Namely, these creative professionals have an eye for developing beautiful, branded graphics.
However, sometimes your quick post or status doesn’t need the Mona Lisa. Sometimes, your in-the-moment shares simply need an image that doesn’t look like you snapped it with 2002 Nokia flip phone.
Pre-Made Layouts
This subscription based online tool is completely free to join. All you have to do is set up an account and you’ll have access to hundreds of layouts. The layouts are designed for a myriad of platforms ranging from social media statues and infographics to event invites and email headers.
A variety of the layouts are available for free when you sign up. Additional choices can be used for a nominal, pay-as-you-go fee.
Images and Fonts
In addition to the pre-crafted layouts, Canva gives you access to a variety of images and fonts. Some are free and others are available for a nominal, pay-as-you-go fee, just like the layouts.
Additionally, you can upload your own images to Canva. This gives you even more control over the look and feel of your final product.
How Canva Works
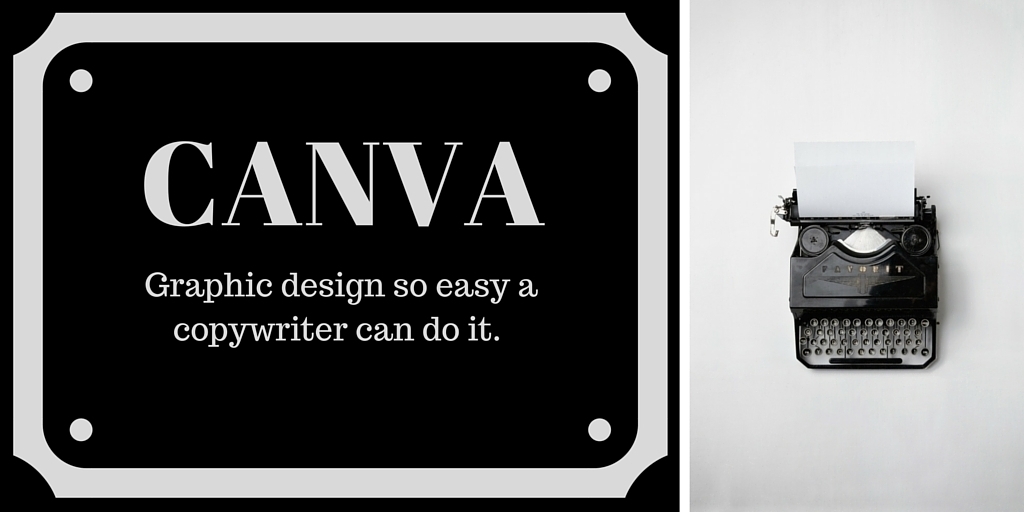
Not sure you have the skills to use Canva? We tasked our awesome copywriter, Mikaela (that’s me!) with creating this week’s image and sharing her step-by-step approach.
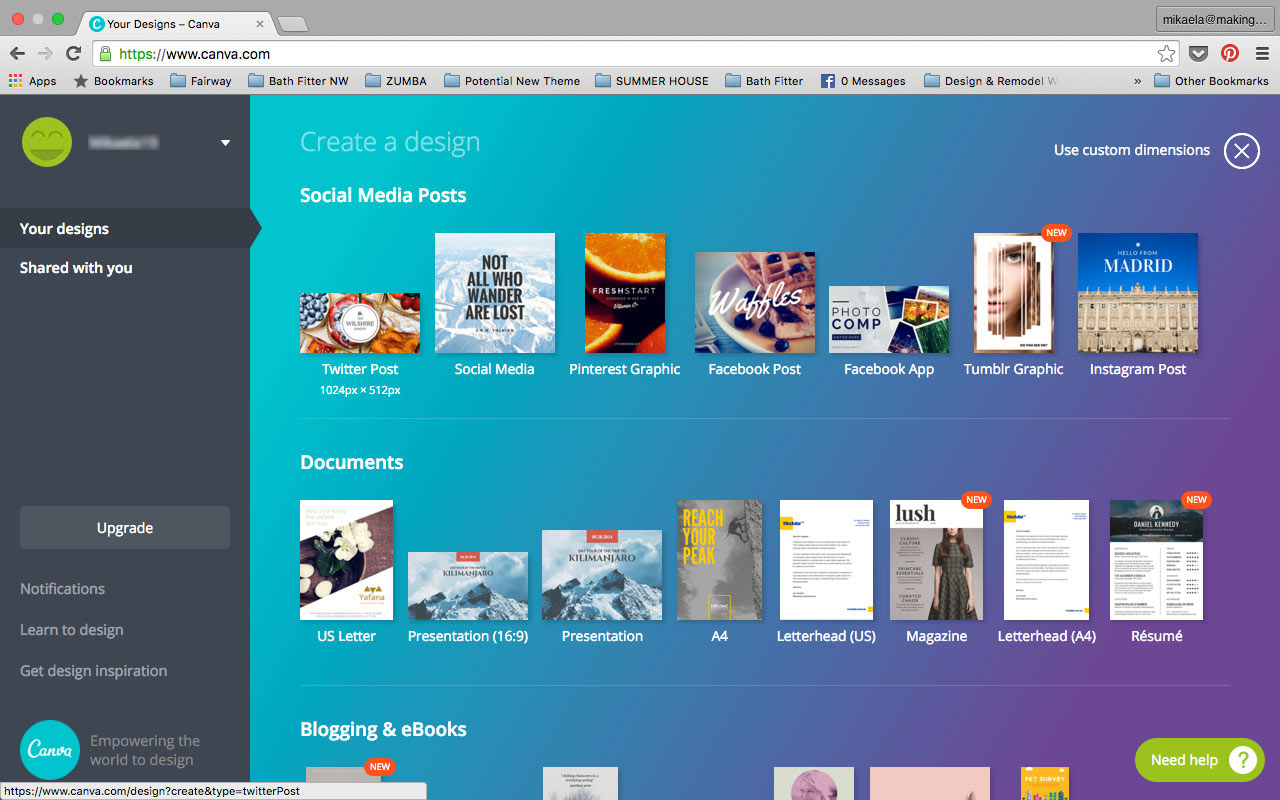
Step 1 – Select a Template
We selected “Twitter Posts.” At 1024 by 512 pixels, it offers the most universal image size and orientation.
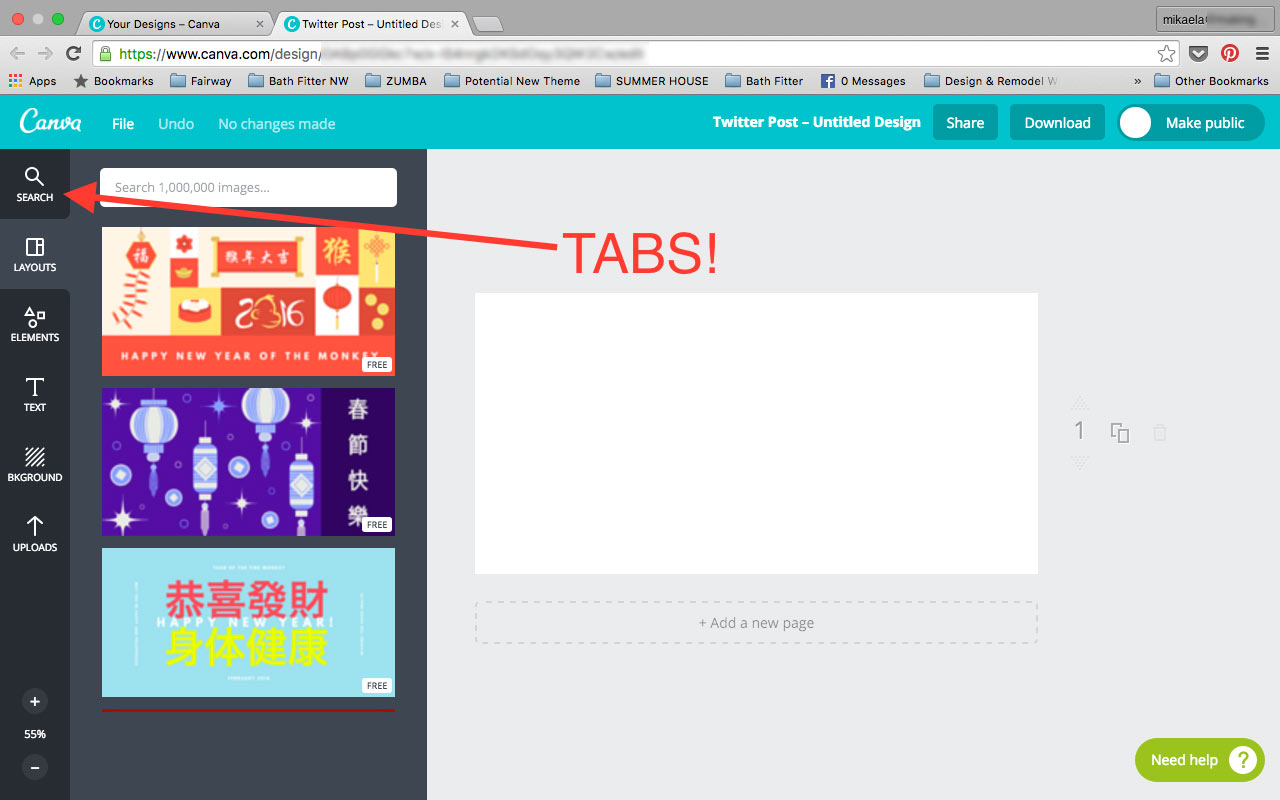
Step 2 – Peruse Your Options
Now the magic begins. This next screen has thousands of options. (For a non-designer, this might be Canva’s biggest drawback – with so many things from which to choose, it can be hard to pick!)
On the left-hand sidebar you’ll find several tabs:
- Search – Use this tab to look for specific items such as images, icons, and charts.
- Layouts – Canva provides numerous ready-to-use layouts. You can use them as-is or tweak them as needed.
- Elements – This tab offers you a variety of premade grids, frames, shapes, photos and more.
- Text – A wide selection of pre-formatted styles and text housed within images (such as circles, speech balloons and tags) gives you the ability to shape your own message.
- Background – This tab is incredibly helpful for those who aren’t using a layout. Here you’ll find a variety of colors, textures and non-descript images ideal for backgrounds.
- Uploads – This tab allows you to upload images and access those you have already uploaded.
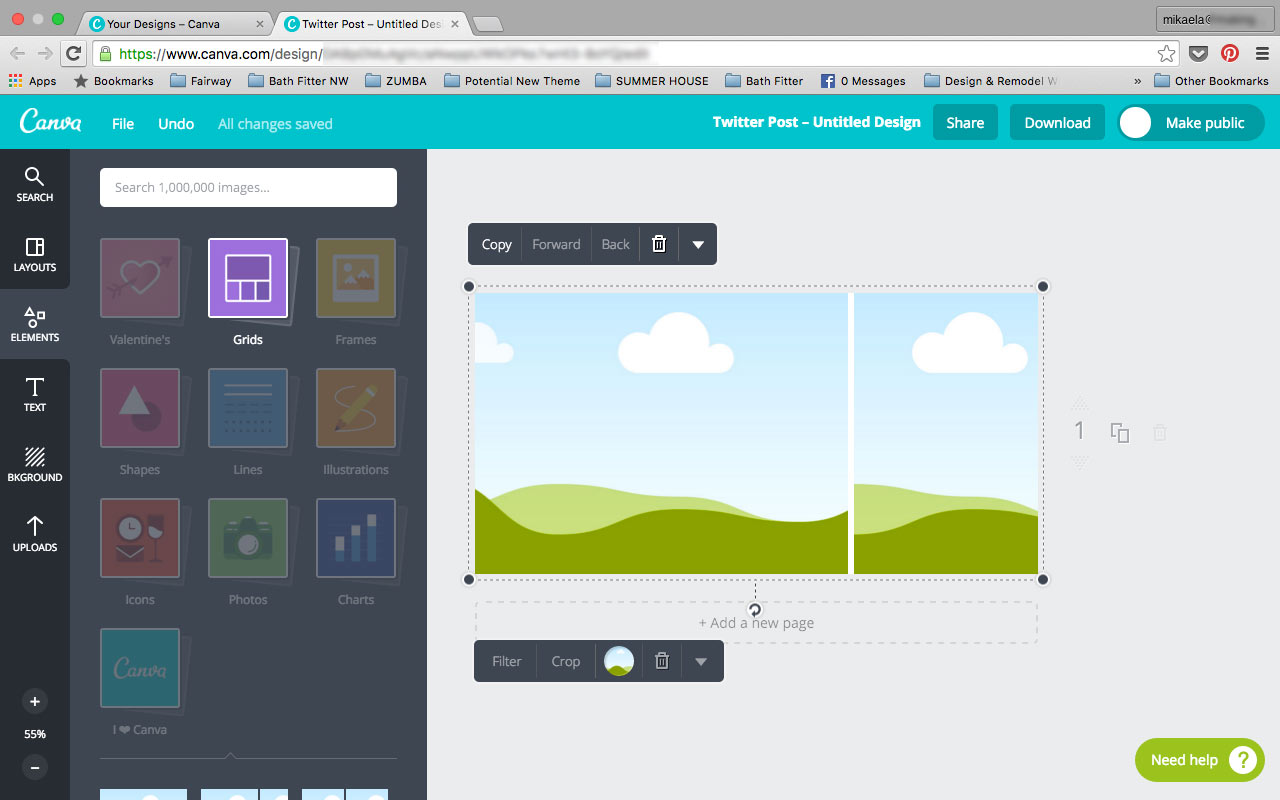
Step 3 – Design
After perusing the premade layouts tab, we didn’t find anything that seemed just right. So, we started on the elements tab. By selecting a grid, our copywriter was able to start with a foundation of pleasing ratios.
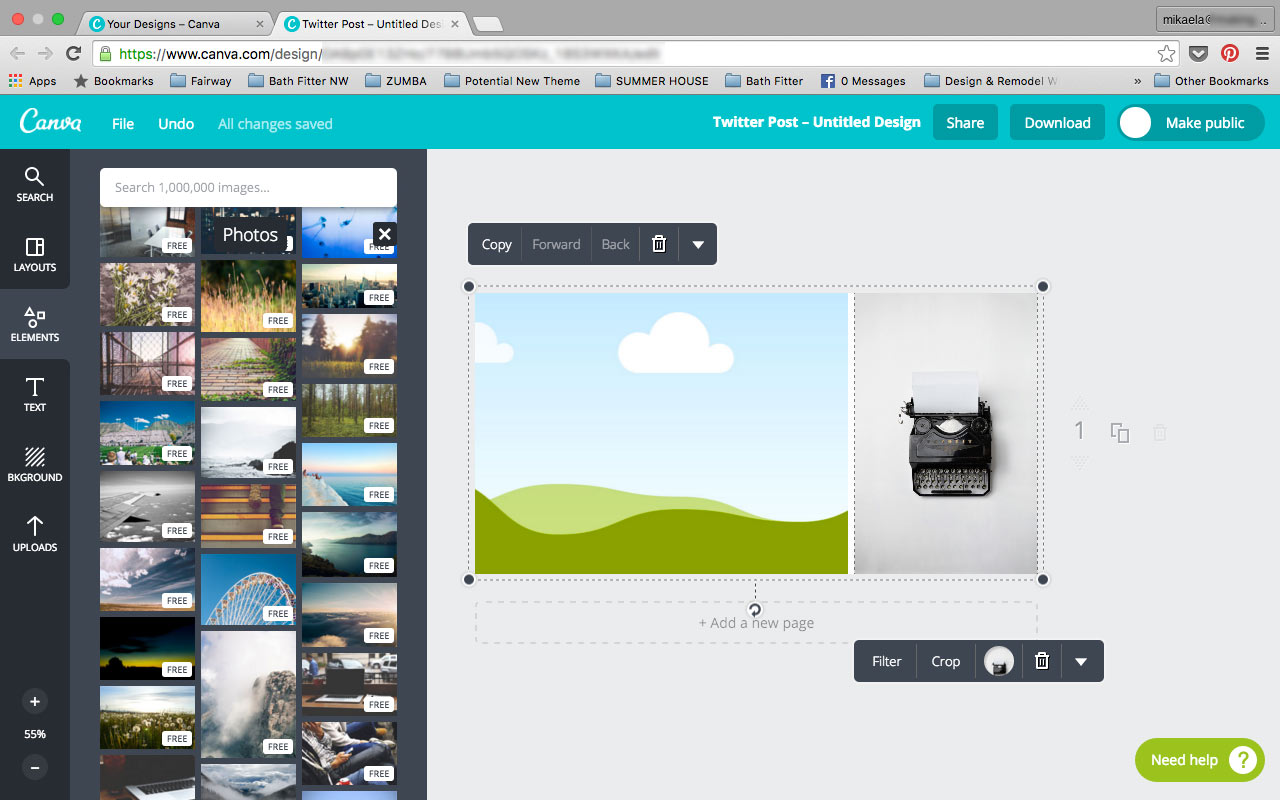
Step 4 – Pick an Image
While still on the elements tab, we looked at the images. There was an image that seemed perfect for a copywriter – a typewriter! Dragging it onto our grid layout, we dropped it into the desired section.
To update the left hand of the grid, we clicked on the “Pick a Color” tool, a circle found to the right of “Filter” and “Crop” near the bottom of the page. To match the typewriter and provide a stark contrast, we went with black.
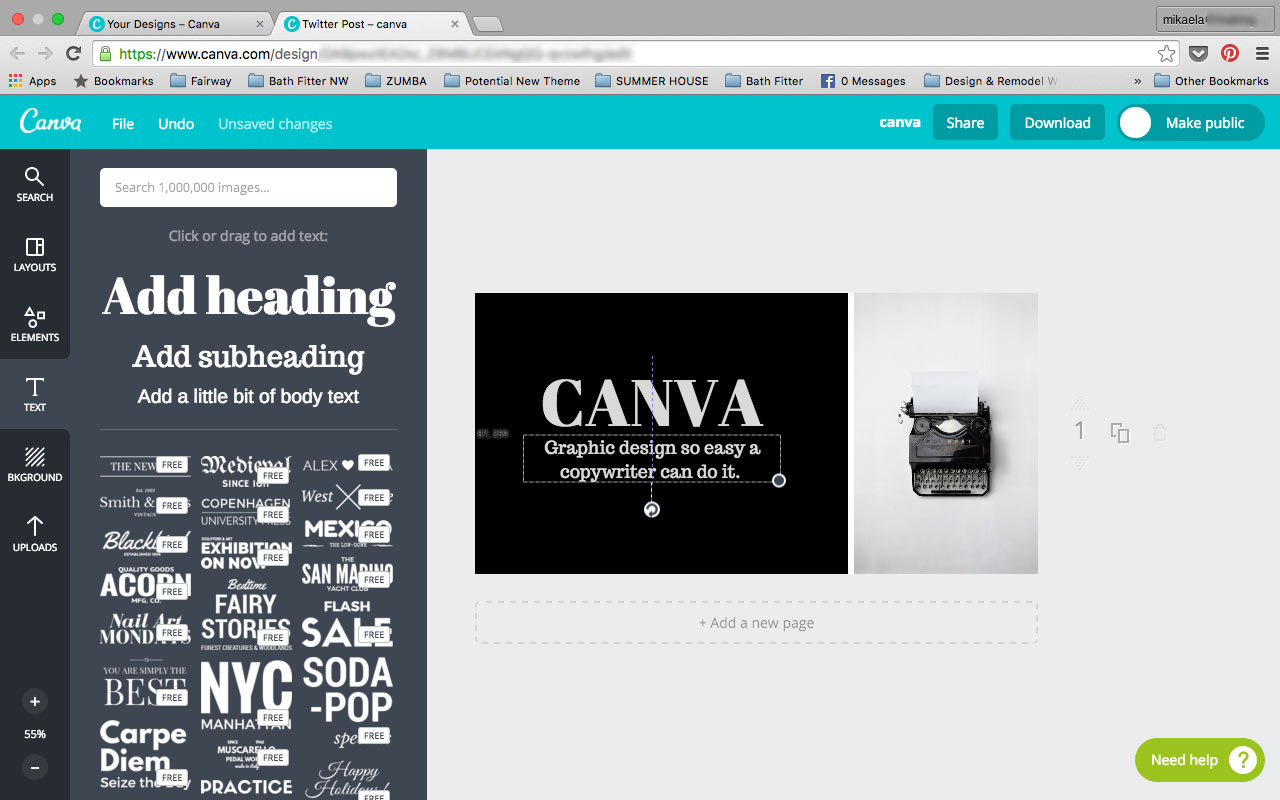
Step 5 – Select Text
None of the pre-formatted text styles fit what we had in mind. The goal was to make our message big and bold. So, we added a heading and paired that with a subheading.
We were able to reposition the text boxes as desired by clicking and dragging with our mouse. As you can see from this screenshot, Canva provides some exceptional tools to help you center items proportionately to one another.
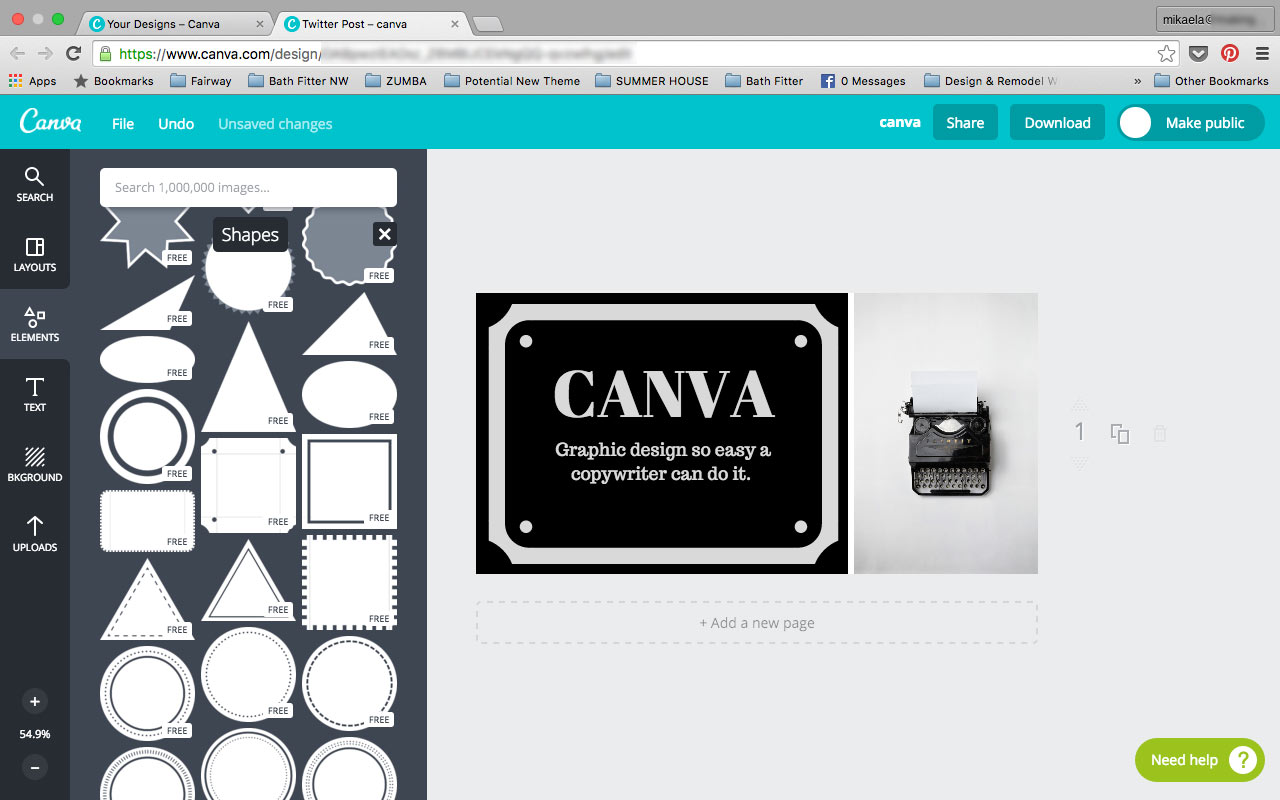
Step 6 – Add Some Personalization
To give it a little something more, we added a shape around the text. (Shapes are found under the Elements tab.)
Step 7 – Download
You can download your graphic in a variety of forms. Because we knew we were using this on the web, we downloaded it “for Web (JPG).”

Conclusion
Is the image Mikaela created going to be displayed in the Corcoran Gallery of Art? No, but it doesn’t need to!
Does the image Mikaela created communicate this post’s message? You betchya! That’s the beauty of it. When you need to share an image and you need one fast, Canva will save the day.
All in all, we think Canva’s pretty awesome. What are your thoughts? Share them with us on Twitter.